Navigation article:
In the following paragraphs
Learn how the Microsoft Surface Data Eraser tool will help you safely wipe data out of your Surface devices.
Microsoft Surface Data Eraser is really a tool that boots from the USB stick and enables you to carry out a secure wipe of data from the compatible Surface device. A Microsoft Surface Data Eraser USB stick requires just the ability as well from USB. The USB stick is simple to produce using the provided wizard, the Microsoft Surface Data Eraser wrapper, and it is simple to use having a simple graphic interface, no command line needed. To understand more about the information wiping abilities and practices Microsoft uses throughout the service process for Surface, see Protecting your computer data should you send your Surface set for service.
Microsoft Surface Data Eraser uses the NVM Express (NVMe) format command to erase data as approved in NIST Special Publication 800-88 Revision 1.
Compatible Surface devices include:
- Surface Pro 6
- Surface Laptop 2
- Surface Go
- Surface Book 2
- Surface Pro with LTE Advanced (Model 1807)
- Surface Pro (Model 1796)
- Surface Laptop
- Surface Studio
- Surface Book
- Surface Pro 4
- Surface 3 LTE
- Surface 3
- Surface Pro 3
- Surface Pro 2
Some scenarios where Microsoft Surface Data Eraser could be useful include:
Make a Surface device to become sent for repair
Decommission a Surface device to become taken off corporate or business use
Repurpose a Surface device to be used inside a new department or use with a new user
Standard practice when conducting reimaging for devices combined with sensitive data
Third-party devices, Surface devices running Home windows RT (including Surface and Surface 2), and Surface Pro aren’t suitable for Microsoft Surface Data Eraser.
Since the ability as well to USB is needed to operate Microsoft Surface Data Eraser, when the system is not configured as well from USB or maybe the unit is not able as well or Publish effectively, the Microsoft Surface Data Eraser tool won’t function.
How to produce a Microsoft Surface Data Eraser USB stick
To produce a Microsoft Surface Data Eraser USB stick, first install the Microsoft Surface Data Eraser setup tool in the Microsoft Download Center while using link provided at the outset of this short article. You don’t need a Surface device to create the USB stick. Once you have downloaded cellular phone file for your computer, adopt these measures to set up the Microsoft Surface Data Eraser creation tool:
Run the DataEraserSetup.msi installation file that you simply downloaded in the Microsoft Download Center.
Choose the check box to simply accept the the license agreement, after which click Install.
Click Finish to shut the Microsoft Surface Data Eraser setup window.
Following the creation tool is installed, adopt these measures to produce a Microsoft Surface Data Eraser USB stick. Before beginning these steps, ensure that you’ve a USB 3. stick that’s 4 GB or bigger attached to the computer.
Start Microsoft Surface Data Eraser from the beginning menu or Start screen.
Click Build to start the Microsoft Surface Data Eraser USB creation process.
Click Start to understand that you’ve a USB stick with a minimum of 4 GB connected, as proven in Figure 1.
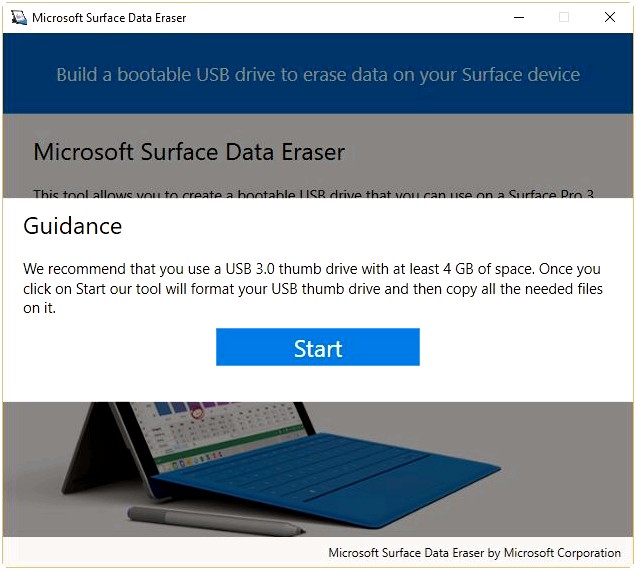
Figure 1. Start the Microsoft Surface Data Eraser tool
Choose the USB drive of your liking in the USB Thumb Drive Selection page as proven in Figure 2, after which click Start to start the USB creation process. The drive you decide on is going to be formatted and then any existing data about this drive is going to be lost.
When the Start button is disabled, make sure that your removable drive includes a total capacity with a minimum of 4 GB.
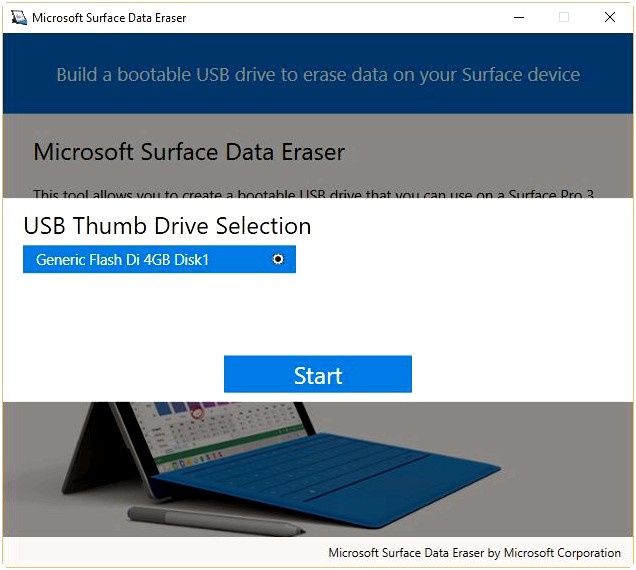
Figure 2. USB thumb drive selection
Following the creation process is completed, the USB drive continues to be formatted and all sorts of binaries are copied towards the USB drive. Click Success.
Once the Congratulations screen is displayed, you are able to eject and take away the thumb drive. This thumb drive has become prepared to be placed right into a Surface device, booted from, and wipe data around the device. Click Complete to complete the USB creation process, as proven in Figure 3.
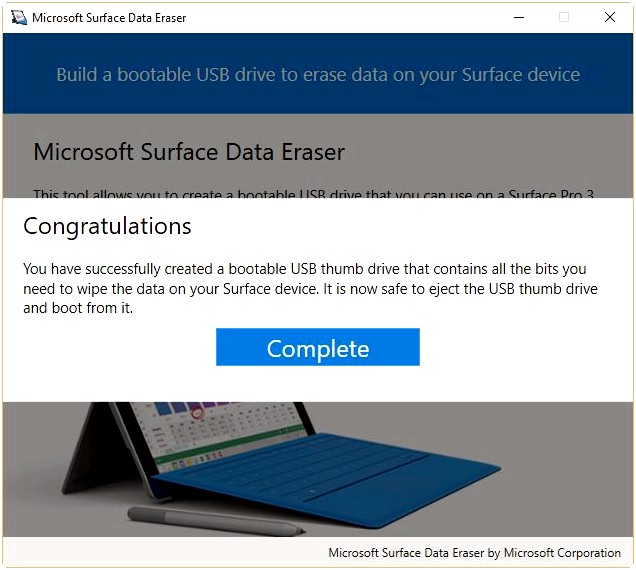
Figure 3. Complete the Microsoft Surface Data Eraser USB creation process
Click X to shut Microsoft Surface Data Eraser.
Using a Microsoft Surface Data Eraser USB stick
Once you produce a Microsoft Surface Data Eraser USB stick, you are able to boot a supported Surface device in the USB stick by using this process:
Insert the bootable Microsoft Surface Data Eraser USB stick in to the supported Surface device.
Boot your Surface device in the Microsoft Surface Data Eraser USB stick. As well your device in the USB stick adopt these measures:
a. Switch off your Surface device.
b. Press and contain the Volume Lower button.
c. Press and release the Power button.
d. Release the Volume Lower button.
In case your device doesn’t boot to USB with such steps, you may want to switch on the Enable Alternate Boot Sequence option in Surface UEFI. Read much more about Surface UEFI boot configuration in Manage Surface UEFI Settings.
Once the Surface device boots, a SoftwareLicenseTerms text file is displayed, as proven in Figure 4.
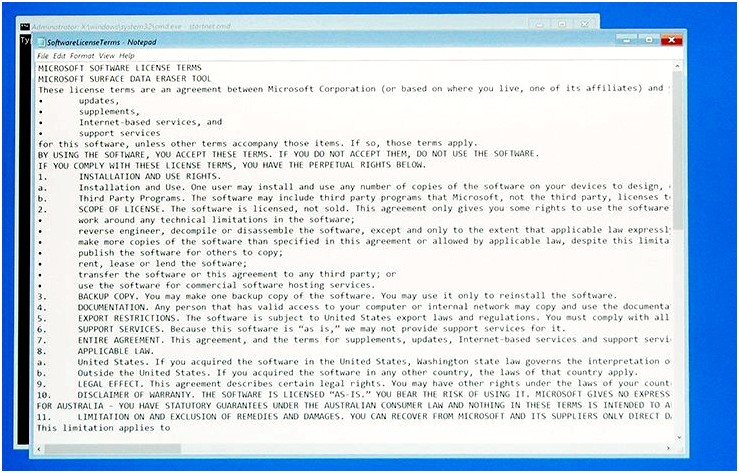
Figure 4. Booting the Microsoft Surface Data Eraser USB stick
Browse the software license terms, after which close the Notepad file.
Accept or decline the program license terms by typing Accept or Decline. You have to accept the license terms to carry on.
The Microsoft Surface Data Eraser script detects the storage devices which are contained in your Surface tool and displays the facts from the native hard drive. To carry on, press Y (this course of action runs Microsoft Surface Data Eraser and removes all data in the hard drive) or press N (this course of action shuts lower the unit without removing data).
The Microsoft Surface Data Eraser tool will delete all data, including Home windows operating-system files needed as well the unit, inside a secure and unrecoverable way. As well a Surface device that’s been easily wiped with Microsoft Surface Data Eraser, you’ll first have to reinstall the Home windows operating-system. To get rid of data from the Surface device without taking out the Home windows operating-system, you should use the Reset your computer function. However, this doesn’t stop your data from being retrieved with forensic or file recovery abilities. See Recovery options in Home windows 10 to learn more.
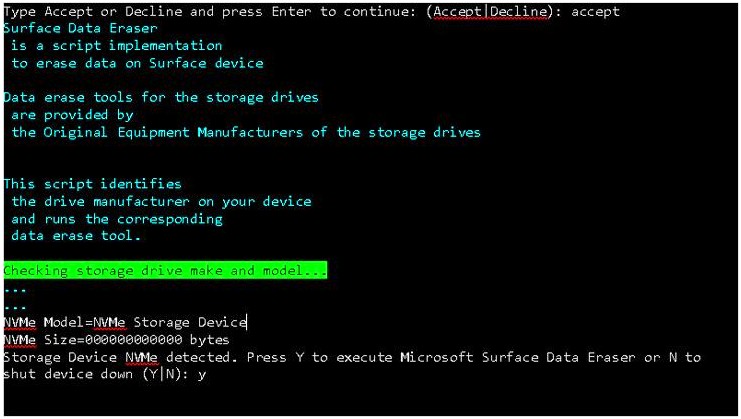
Figure 5. Partition to become erased is displayed in Microsoft Surface Data Eraser
Should you pressed Y in step six, because of the destructive nature from the data erasure process, yet another dialog box is displayed to verify your decision.
Click on the Yes button to carry on erasing data at first glance device.
Advertising media are Surface Data Eraser at first glance Data Eraser USB drive, a log file is generated within the SurfaceDataEraserLogs folder.
Changes and updates
Microsoft Surface Data Eraser is periodically updated by Microsoft. For details about the alterations provided in every latest version, begin to see the following:
Version 3.2.69.
Release Date: 12 October 2018
This form of Surface Data Eraser adds support for an additional:
- Surface Pro 6
- Surface Laptop 2
Version 3.2.68.
This form of Microsoft Surface Data Eraser adds support for an additional:
Version 3.2.58.
This form of Microsoft Surface Data Eraser adds support for an additional:
- Additional storage devices (drives) for Surface Pro and Surface Laptop devices
Version 3.2.46.
This form of Microsoft Surface Data Eraser adds support for an additional:
- Surface Pro with LTE Advanced
Version 3.2.45.
This form of Microsoft Surface Data Eraser adds support for an additional:
Surface Pro 1TB
Surface Data Eraser v3.2.45. and above may be used to restore Surface Pro or Surface Laptop devices using the 1TB storage option within the scenario the device shows two separate 512GB volumes or encounters errors when attemping to deploy or install Home windows 10. See Surface Pro Model 1796 and Surface Laptop 1TB display two drives to learn more.
Version 3.2.36.
This form of Microsoft Surface Data Eraser adds support for an additional:
The Microsoft Surface Data Eraser USB drive creation tool is not able to operate on Home windows 10 S. To wipe a Surface Laptop running Home windows 10 S, you have to first produce the Microsoft Surface Data Eraser USB drive on another computer with Home windows 10 Pro or Home windows 10 Enterprise.
We’d like to hear your ideas. Pick the type you want to provide:
Our new feedback product is built on GitHub Issues. Find out about this transformation within our blog publish.
Source: docs.microsoft.com